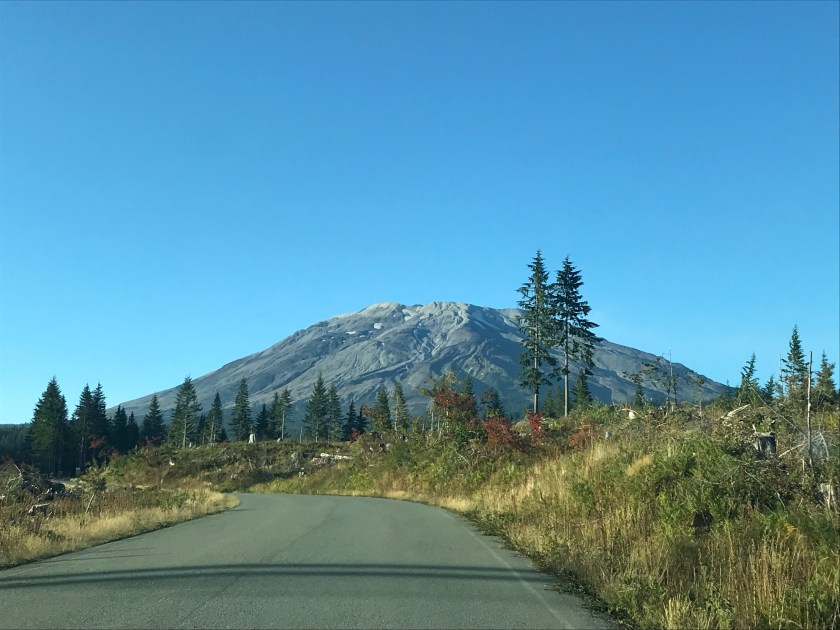
Mount Saint Helens is one of the most famous volcanos in the world and it just so happens to reside in Washington State, where I’m from. It is the mountain to visit if you are ever in this region of the United States. Well, that and Mt. Rainier, of course.
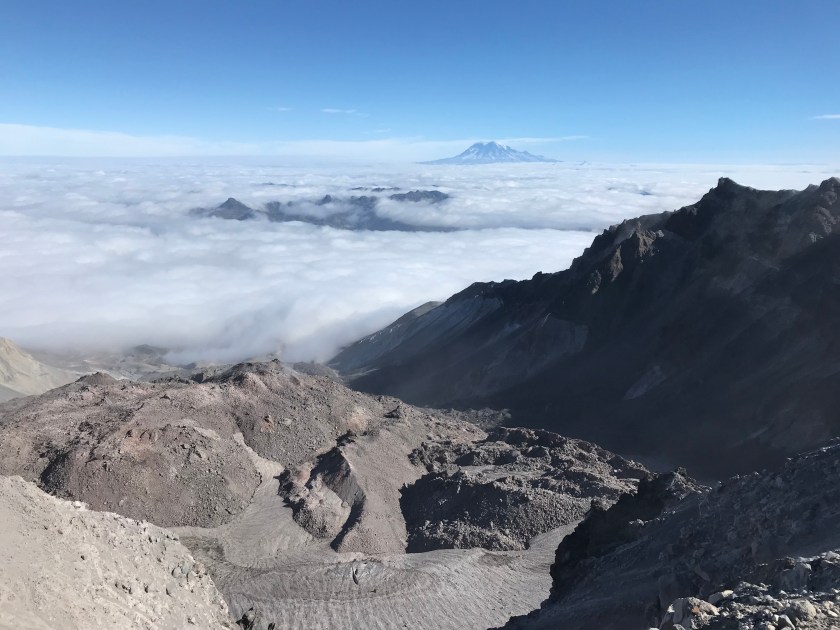
It erupted on May 18, 1980 throwing a plume of ash 16 miles into the sky. It was visible from hundreds of miles away while ash landed halfway across the continent in the days following the eruption. It is the most catastrophic eruption to ever take place in the US. An entire side of the volcano came down due to the eruption and buried towns, roads, 57 people and plenty of forested land. The destruction is still very evident even today. Oh and it´s crater is still active and growing.
Today you can visit the volcano and learn about it’s incredible history. Besides visiting the Visitor Center and museum for the quickest and easiest views and details you can also hike/climb, mtb, ski (backcountry, cross country and snow mobile) and camp there.

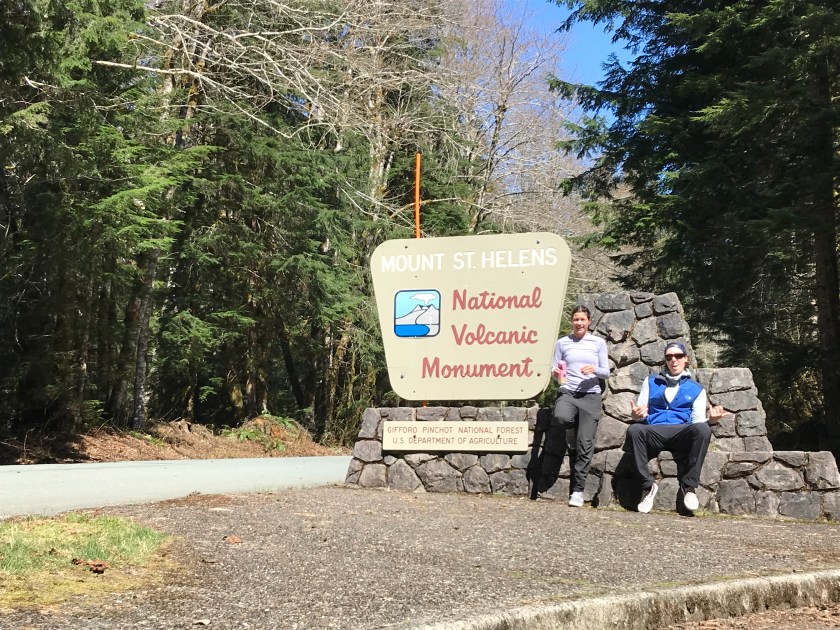
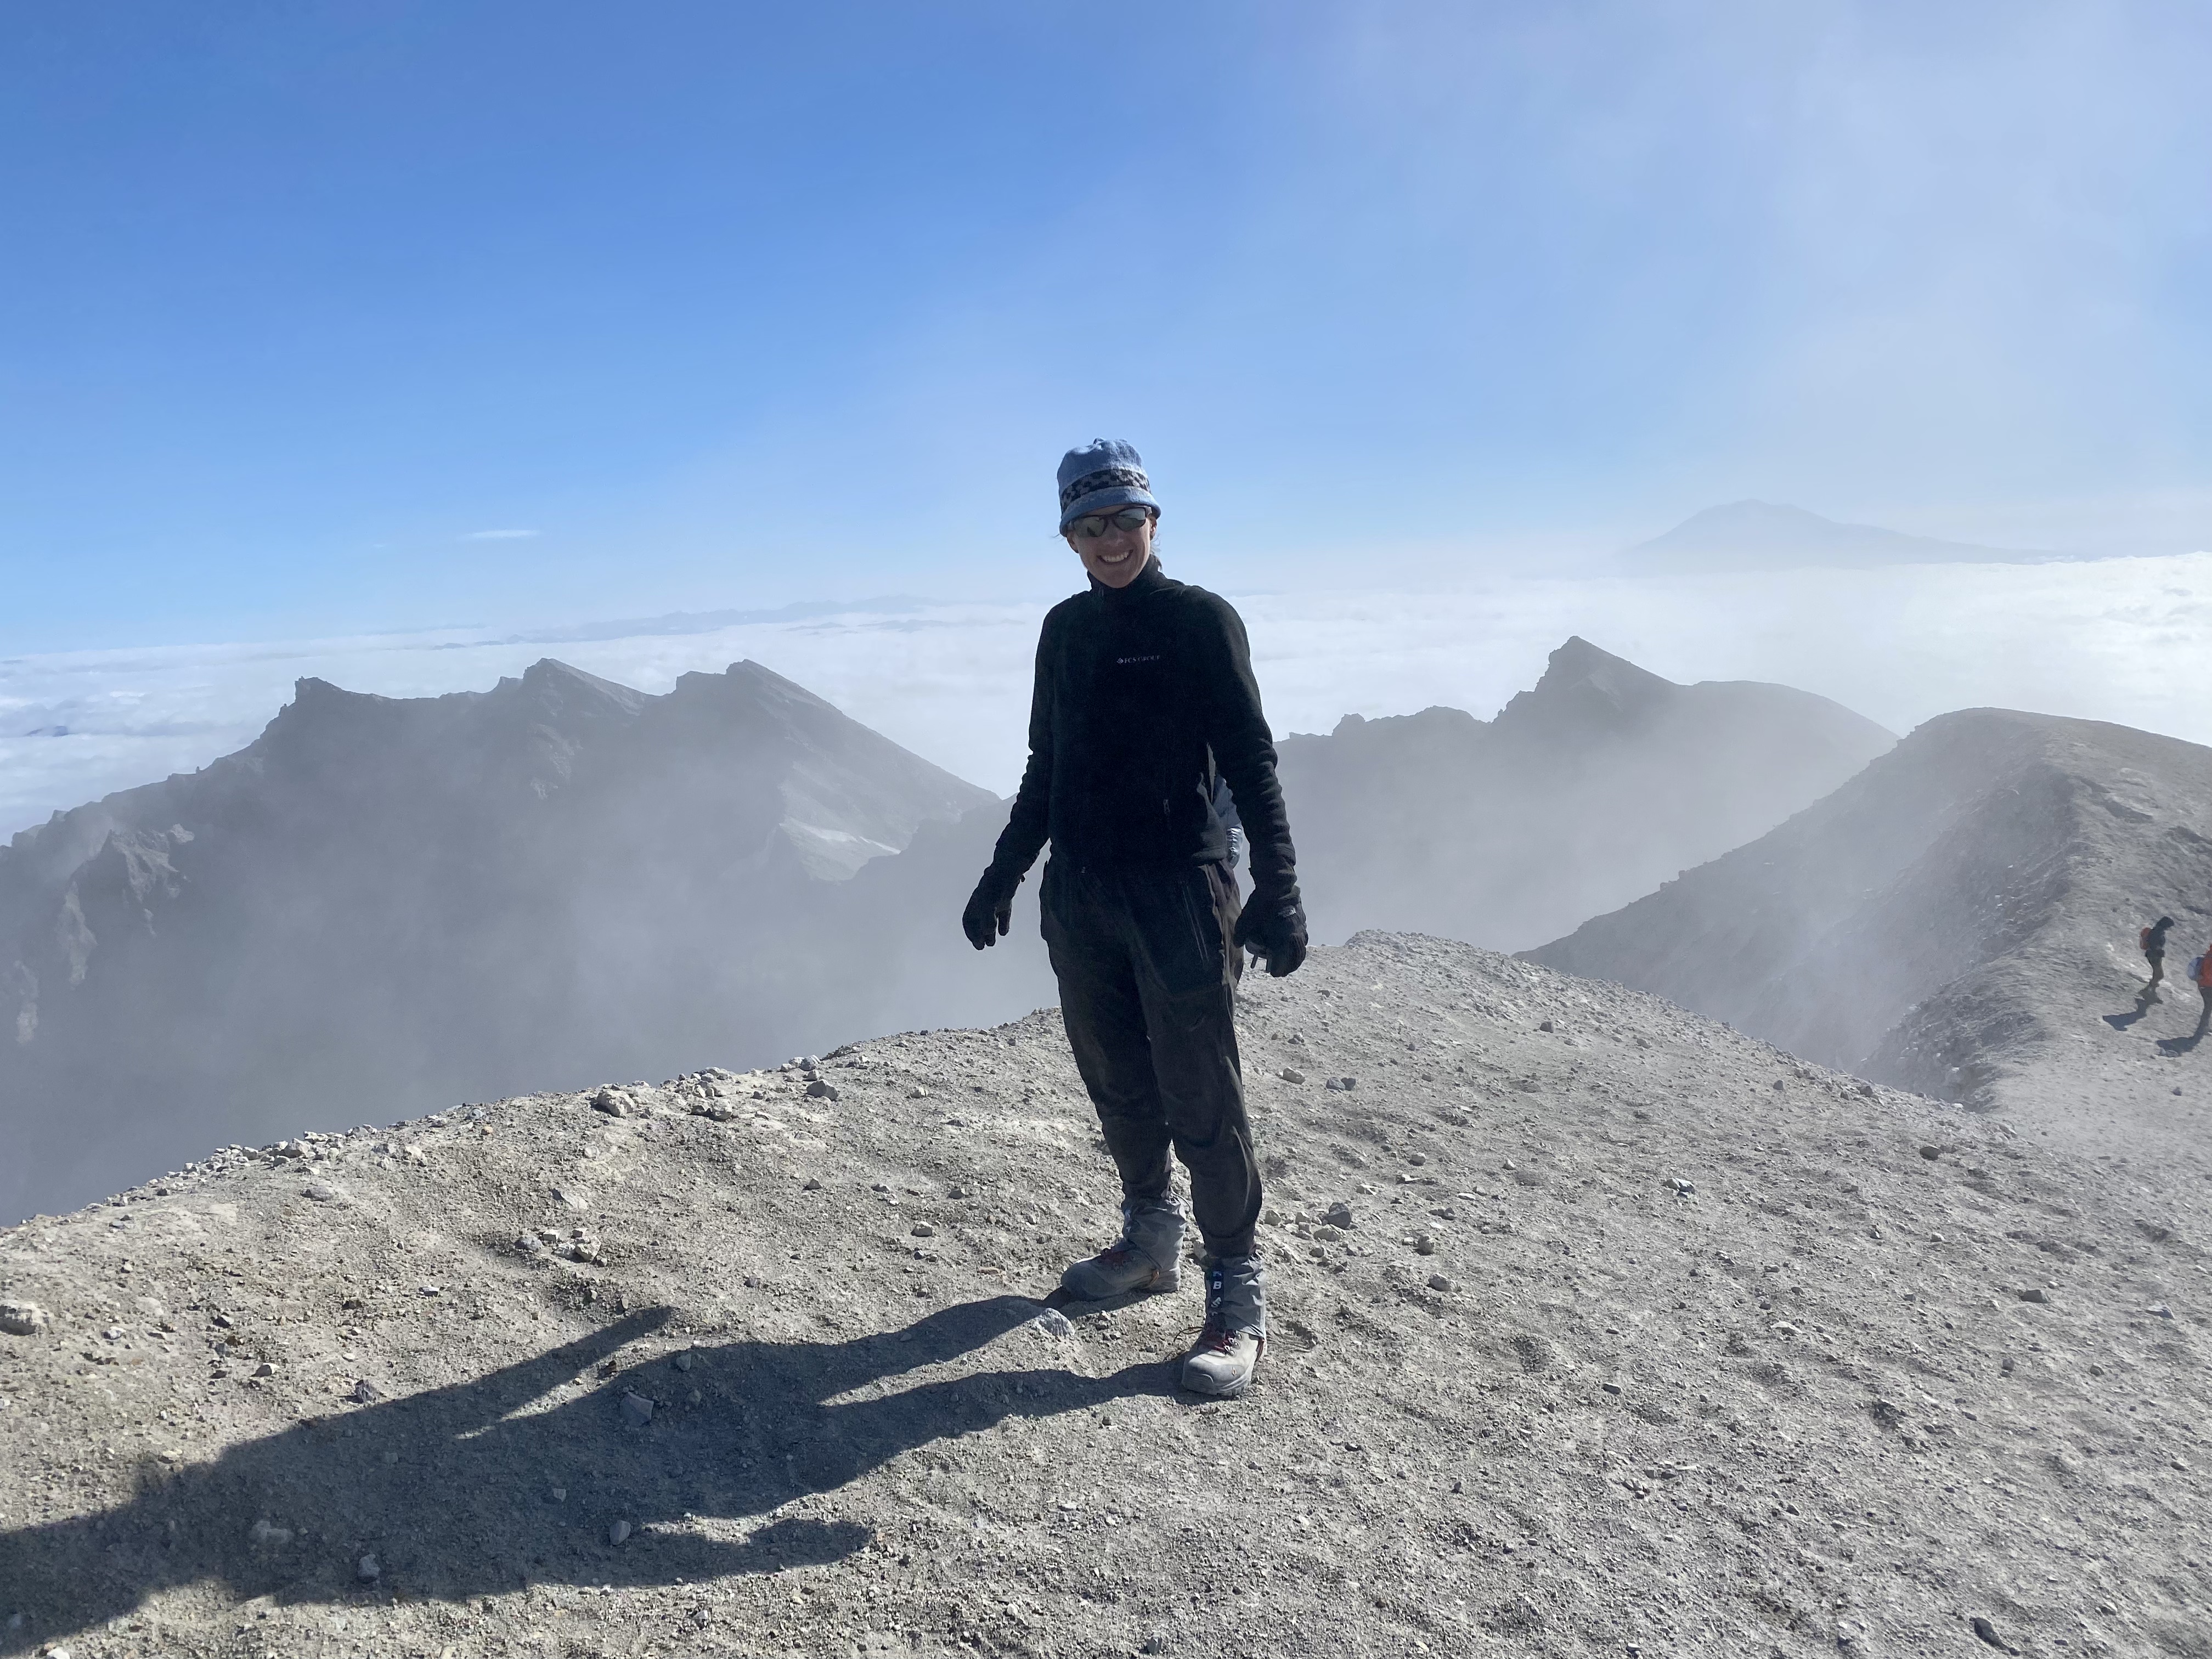
As a kid I´d been to the Visitor Center and was charmed to learn about it´s history and stories. The most impactful story I recall was of an older man who lived on the lake below the mountain, Spirit Lake. He was told to evacuate but he refused to leave his lifelong house and was thus buried in the eruption. A story of true grit and love for this mountain he called home. As an adult I´ve wanted to return and climb St. Helens. Yesterday, August 30, 2021 I fulfilled this dream when I summited the rim of the crater. It was my second attempt. I tried this past April using the winter route which is 2 miles longer and has 1200 feet more of elevation gain but due to high wind gusts had to turn back just short of the weather station (aka, almost there). The summit along the rim of the crater is at 8,363 feet; the old cone used to reach 9,677 feet.
There are many trails around the volcano to choose from but to summit there are two options. Both trails start off in the forest and slowly curve their way up. In winter it´s along a snowy ridgeline but in summer it is through the lava rocky portion of the volcanic blast zone and then finally through a loose ashy rock which is slow and painful for nearly 1 hour. To reach the top in summer it took us nearly 4 hours covering some 5 miles with 4500 feet elevation gain. It took about the same on the way down only this portion included lunch. Both directions required stops to adjust layers and take in the outstanding views all around us. By the way both directions felt equally as challenging. Please note, it will take longer to reach summit if you are not physically fit or well trained for the distance or elevation gain.


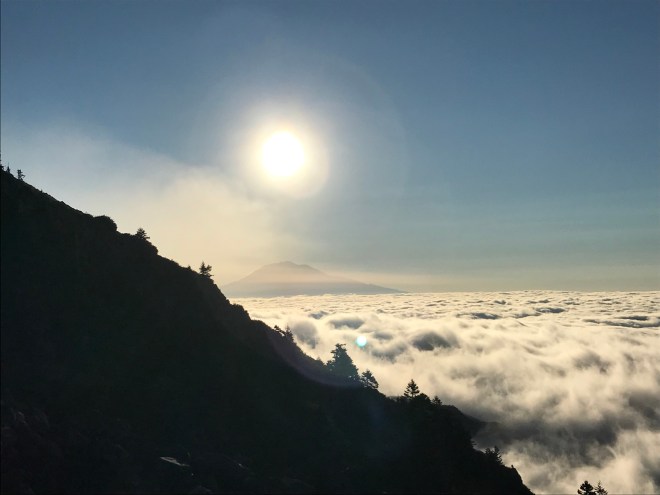
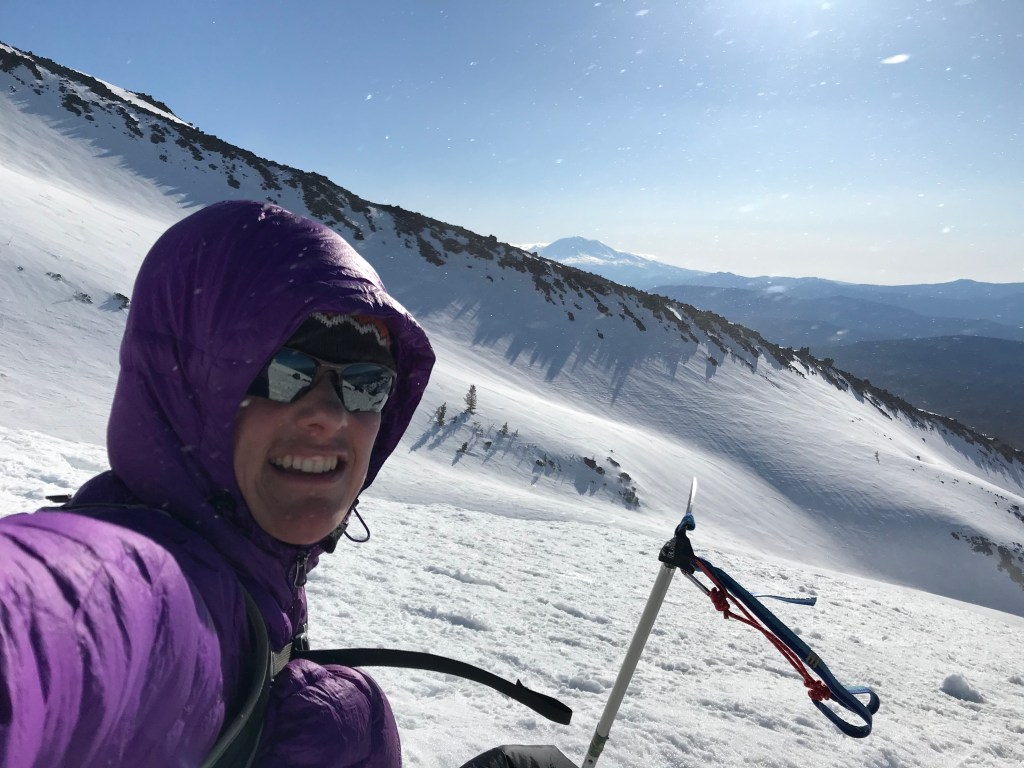
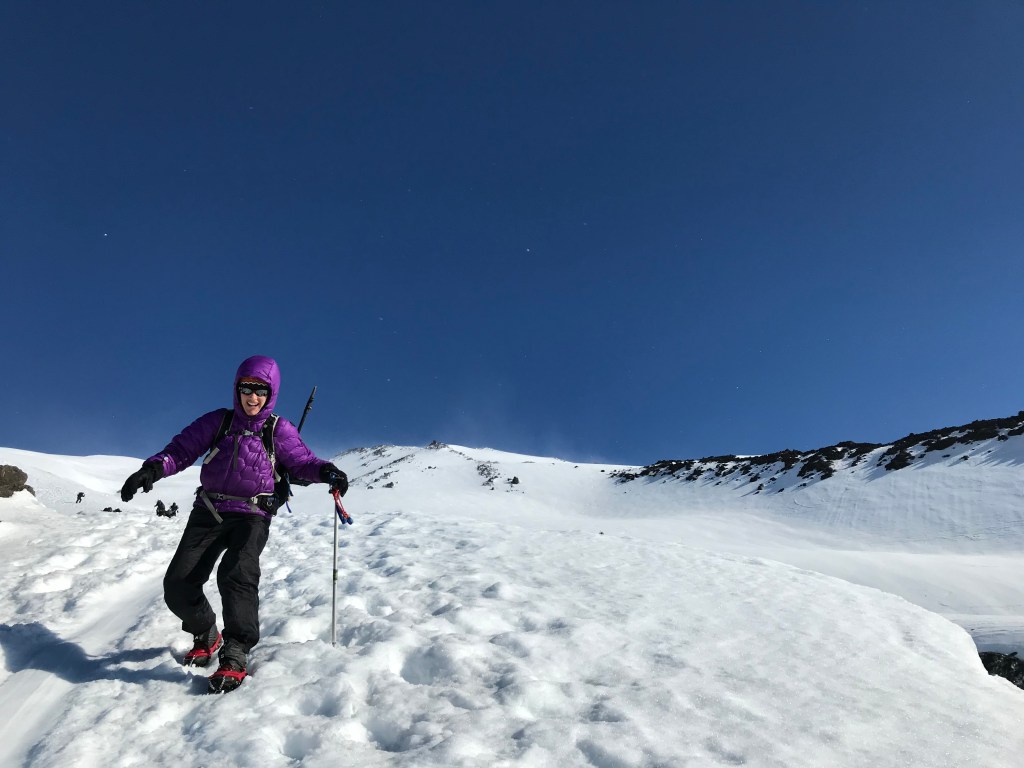
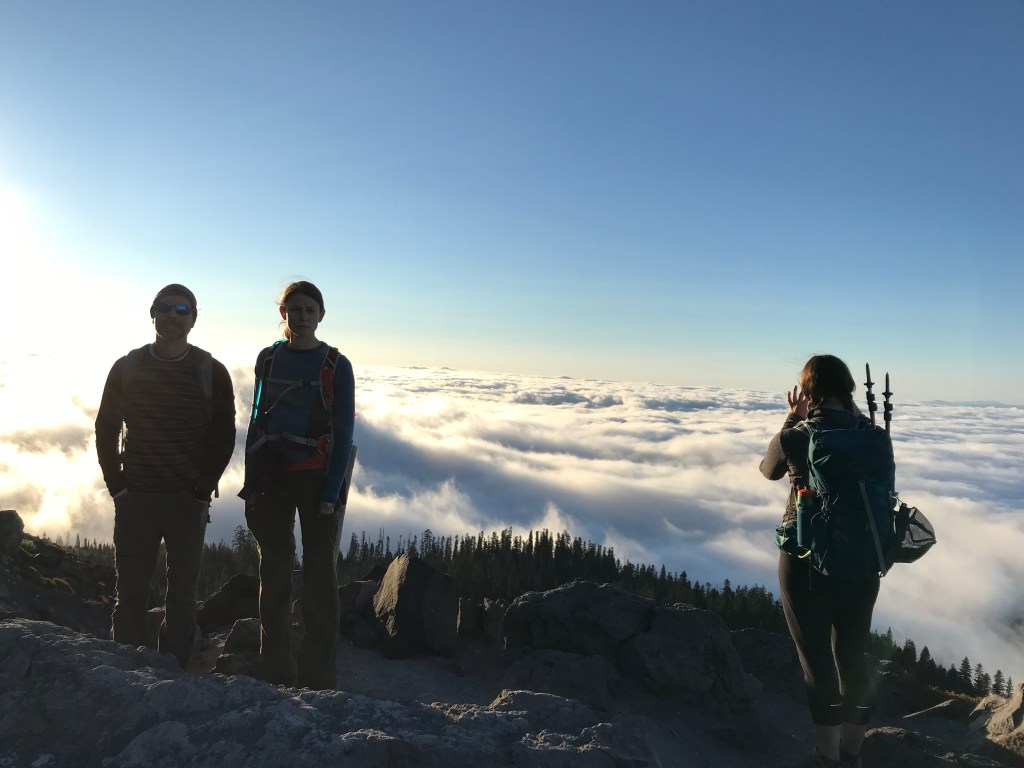
Both times I´ve gone the plan was to leave early, around 5:30 am. The best is to be on the mountain for sunrise so usually you hike/climb Mt. St. Helens in the dark. If you go early you also avoid the crowd. On my recent summit it seemed everyone was nearing the weather station when we headed down, maybe they left between 8 or 9 in the morning. By leaving early we got lucky and actually had the top for ourselves the whole time. It is worth it plus winds tend to pick up by noon and if summiting in winter, snow can start to become softer which is not good. Also, the earlier you leave the higher up can get to see the beautiful sunrise and all the mountains visible from St. Helens. You can see on a good day Mt. Adams very close by to the East, Mt Hood to the South and of course Mt. Rainier only at the summit as it is Northeast a bit.
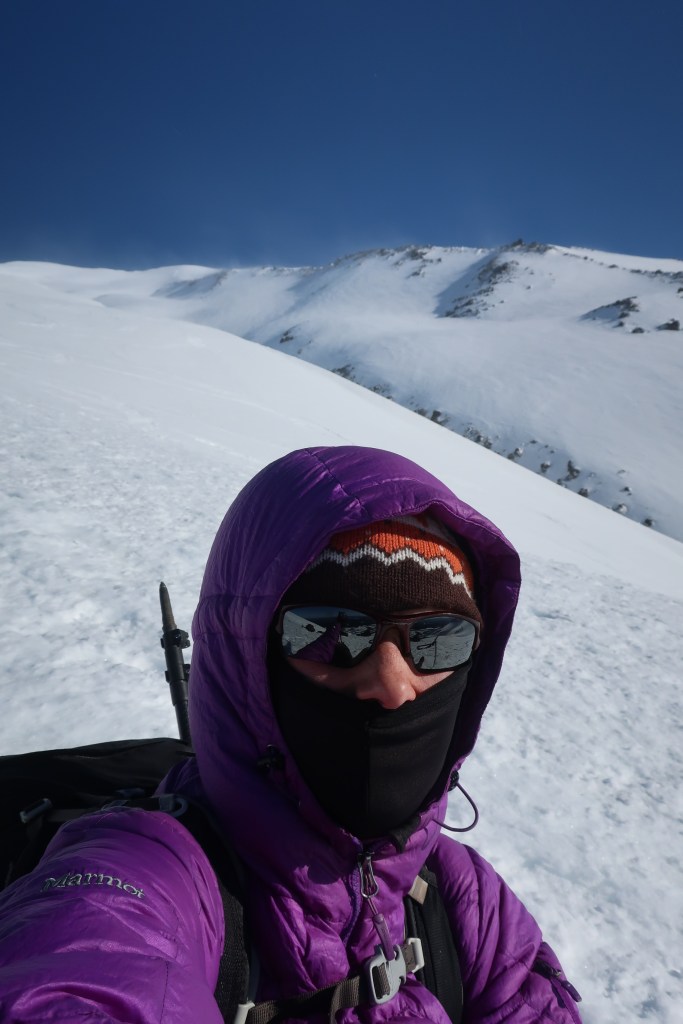
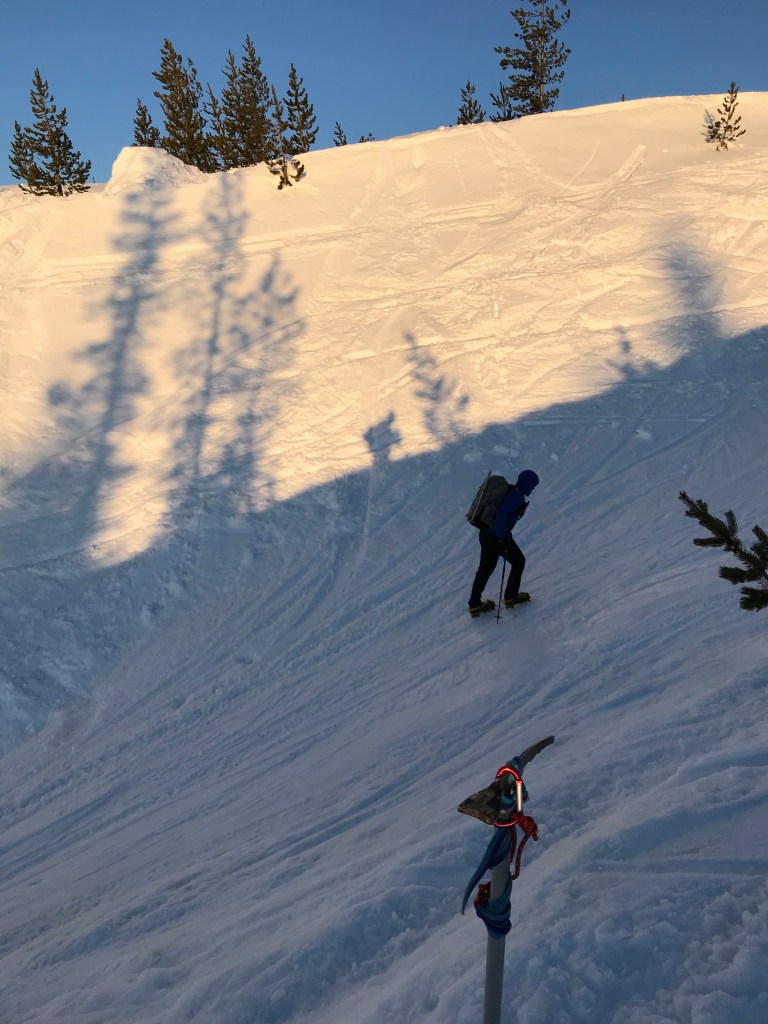
The winter route before we turned back took us just over 3 hours and about the same on the return (if walking). This route is completely separate from the summer route until the final summit push (the ash). We were just over a mile from the summit but strong winds forced us and everyone else attempting to turn back. Ultimately it is the mountain (nature) that decides and it´s decision should be respected. It is best to return safely then potentially not return at all. That is what I believe and try not to let a turn back feel like a failure…you still got out on the mountain and hiked.
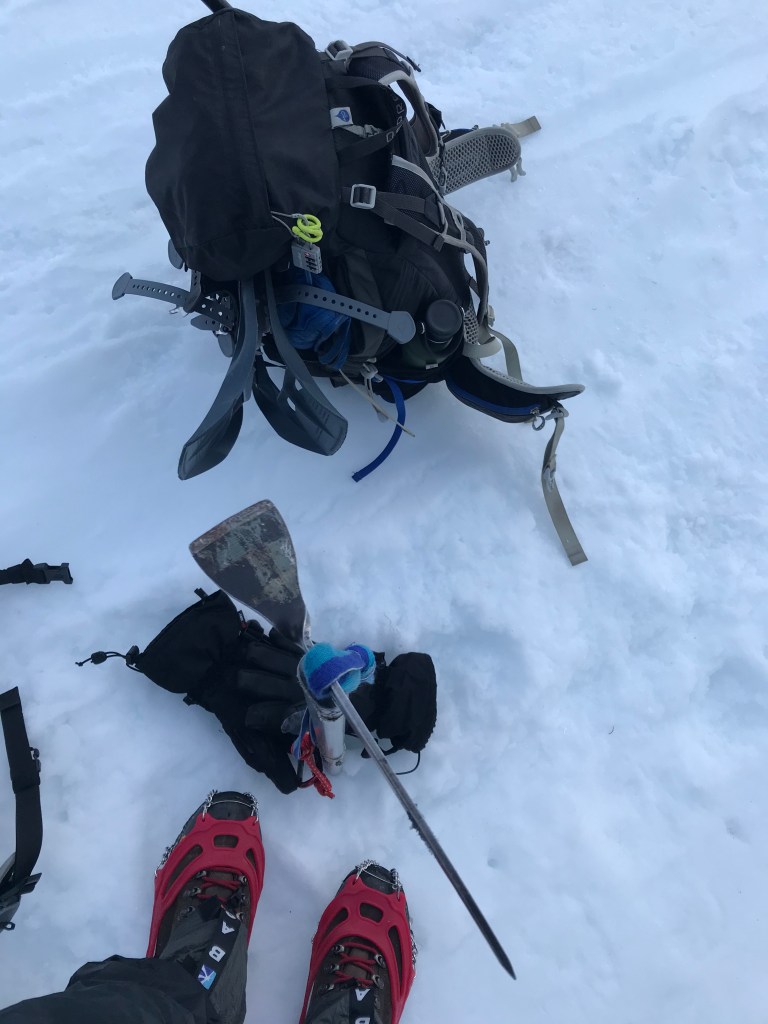
To do the winter route you do not need much technical skills but you do need an ice axe and know at least how to self arrest. You should also be able to recognize potential avalanche danger and check local ratings before attempting a summit (@nwacus or link below). Depending on the snow you likely need crampons, although in April, I went with microspikes which given the terrain would have been good until the snow softens too much. You might also consider bringing a helmet and snowshoes. You can rent climbing gear at most REI stores. Again, it all depends on weather and snow the time of year you go. I choose microspikes, frankly because that is all I have and the trail reports seemed to support that I would most likely be fine with these. If I had the option I would have brought crampons for sure! Don´t forget good sunglasses, the glare off the snow is brutal. IF you know how and don´t mind I would take skies or split skis up, it is the fastest route back down and probably the most fun and beautiful option, tons of people climb up Mt. St. Helens summit then ski down…I was jealous my skills are not at this level. You can also glissade (basically a snow slide) as plenty of shoots are usually made. Remember to put the ice axe away if you are doing either of these!


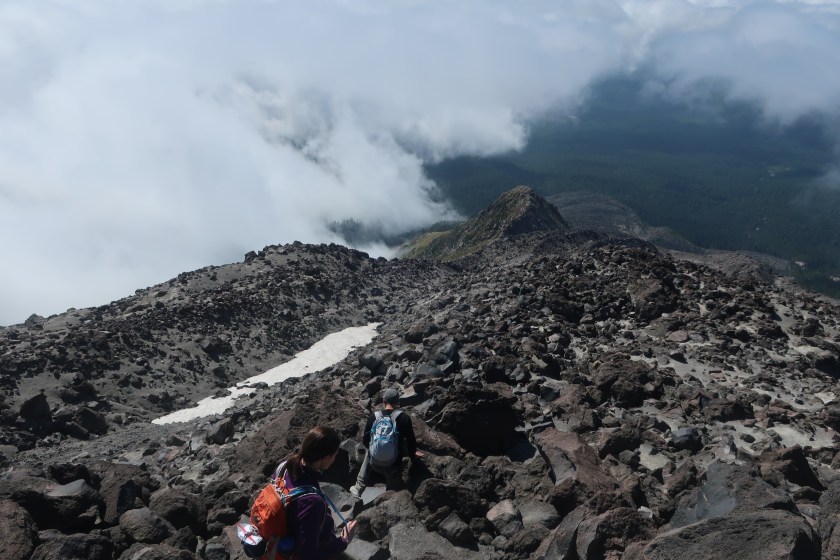
I believe a summit in winter is more beautiful but to get the full affect of what happened on Mount Saint Helens, and really feel the volcano, only the summer route offers that for climbers. I say this about the summer route because the volcano is exposed. You can see all the damage that the eruption did and you walk right through the blast zone. Which if you think about this, it is wicked and exciting! Not just the crater and steam at the top but summer allows you to see the black and white lava rocks and even feel them as you grace them many times with your hands to make it through the boulder field. The last mile of the route you walk very trudgingly through the ash of the volcano. It is hard part of the trail but one step at a time and you will get to the rim. Just this part took an hour for us. This part would be much easier in winter for sure! Before arriving to the rim, I suggest stopping, turning around, catching your breath, taking in the view of the trail you just conquered and then continuing onto the rim. I say this because once you achieve the rim the views change and they are quite outstanding, so much so that you forget all that you did before this point. Both are equally worthy of their moment. Then, once you are standing on the rim, take in that spectacular view for as long as you can (until no space or too windy/cold). Finally, when you are ready, walk up the final meters to the actual summit west of you. Be sure to stay away from the edge because it is all quite loose (in winter especially since you have cornices…fake edges) and it´s a long way down into the crater. The summer route is also great because it is something anyone with determination and will can do! It is challenging and slow but it can be done. Get your permit, grab a friend and take on this beautiful challenge.
The summer summit attempt was also plagued by wind, though, luckily it was only about 20 mph gusts instead of over 30 and they started after summiting. You can check summit weather in the links below. Dust spreading from the wind was a factor near the top but there were no ice chunks flying at us this time nor the need to kneel, waiting for the strong gust to stop so you could safely make a step and not get blown away. One person in our summer group did get dust in their eye and almost lost a contact lense in the process. They had to keep it in their mouth until we were low enough to avoid most wind.
In both summer and winter it is best to have some wayfinding device, aka GPS or a map and compass…or both to be ultra safe. There are plenty of people generally hiking up but you should be self reliant. In summer the route is delineated by poles that you follow all the way up. In winter there is no such visible guiding force except a downloaded route on the GPS unit or by map. It is possible in both summer and winter to get off trail so be sure to look up often for a pole or consult the GPS to be sure you stay near the correct path.


The day I summited I was also celebrating an anniversary so as soon as we finished hiking we had to drive back to Seattle in hopes that I would be back in time for the dinner date. We weren´t sure if we would make it because you never know how traffic will be. Packing hiking boots and high heels together is sooo odd, not to mention the nice outfit to match. To get down to Mt. St. Helens it took us more than the usual time due to traffic which worried me for the return. It took nearly 6 hours instead of the usual 3.5 hours. Traffic back, luckily was very light and we made it home over an hour ahead of schedule! After this experience I must say I do not recommend ever wearing high heels after such a hike. I am glad I wore the heels that same day as opposed to the following ones though because recovery sucked! My legs were sore all week long! I could barely even bike… ha. As should be expected climbing any mountain, 2 or 3 days later your muscles will deeply feel it. I also barely fit this climb in before my upcoming race…never do a big hard or long hike under 2 weeks from a big race (I had 70.3 Ironman Michigan)….I was just at 2 and that is as close as I would ever allow it!

Camping is available for the summer route, plenty of nice sites to pop a tent or just car camp at the trailhead. If going in winter know there is no campsite at all, you pop your tent up in the parking lot or car camp. At this trailhead there is a warming hut for playing games or eating away from the cold which is really nice! Both locations have a bathroom. There is no running water, you need to bring enough with you for the hike and before/after.
The permit you need to purchase online in advance if hiking between April and October. It costs $15 per person. Outside those months, you do not pay for the permit but rather register onsite at the trailhead before summiting. The permit is used to help reduce the amount of people summiting per day so that the trails are not over crowded and remain in good condition. Depending on the month there will be more or less permits available. Given I went on one of the most popular month…aka summer, only about 100 other people were allowed up with us that day. Permit process used to be by season but in 2021 it was monthly. Aka instead of reserving a permit in March for the whole season this past year it was reserved the month prior. I prefer this new method because so much could change between the date you register. Early and late season are obviously easier to get last minute due to weather so keep this in mind. Another thing to purchase or consider bringing is the required US Forest Pass. This can be purchased onsite or at REI. Cost is $5 and you display it in your car.
We drove from Seattle and it takes about 3.5 hours to get to the trailhead parking lot. The summer route does have a portion of gravel road you need to go up whereas the winter route is paved all the way up. Given the distance it might be best to fly into Portland instead which is just over 2 hour drive if you are coming from out of town.
Advice and What To Bring:
Leave early – well before sunrise
Take at least 2 liters of water. Plus leave some in car because there is no water tap at camp/parking lot or water source for filtering along trail
Bring snacks but don´t go crazy either
Sunscreen and sunglasses
Headlamp
Bring lots of layers, even in summer we needed them. A good down jacket for the top. Hat, gloves too.
Permit copy (unless after October or before April) – Cost is $15 per person
Camera
In Summer Bring:
Walking poles are quite helpful (it´s steep both directions)
Gardening gloves, you will touch tons of lava rock which is rough
In Winter Bring:
Ice Axe
Crampons
Snowshoes
Helmet
Neck warmer (to cover face for wind protection mainly) I had lots of windburn from the April attempt.
Don´t forget sunglasses, sunscreen or chapstick
Resources:
Winter Trail Report – Read current reviews
Summer Trail Report – Read current reviews
Weather Report at Mountain Summit
Avalanche Report – West Slopes South
Download GPS Route to Device (Peakbagger.com)

One thought on “Climbing Mt. St. Helens Summit”