If this is your first time planning a bike tour know that you can do a tour on any bike but you should research and plan a route for the type of bike you have. Know that the set up of your bike will be very personal. You can look at other cyclist’s set up for ideas but in the end you will find what works for you. Whatever set up you decide it is best to test it out and make changes before your trip. There may be changes needed to bags, the location of items or even missing items. It is best to know beforehand and get what is needed before you are on the road.
Be clear on the style of exploring by bicycle as there are two very different ways to travel on bicycle which tend to get easily confused. There is bike touring and bikepacking and they are not mutually exclusive but today there seems to be some overlap which creates confusion. While both are about exploring and cycling for a period of time on various terrain, bike touring seems to be the slower tour on bicycle while bikepacking is more directed toward performance and speed. It is helpful to keep this in mind while planning your trip as it might determine the bicycle, bags and route you choose. More on bike touring v bikepacking
Either way, make sure you have the tools needed to adjust every part on your bike and the tools needed to fix multiple flat tires (patch kit and tubes or tubeless gear). If your route will have quite spaced out major cities, for instance in Africa or South America, where bike shops might be days away (or not have part available) you should bring spare parts for any other problem that may occur (like chain, cables, derailleurs, brakes etc).
Lastly, keep in mind everyone does a tour differently and sometimes the ideas you have about where you want to cycle versus where you actually cycle might change so have a flexible attitude and go with the punches. Below are the steps I suggest to prepare for your bike tour.
Steps:
1 – Select bike
2 – Select route
3 – Get bags needed
4 – Pack the bags and mount on bike
5 – Test the set up on a ride (an over night or a multi day trip).
1 – Select Bike
Do you use what you have already? If so, make sure it get´s a tune up and has any repairs to parts that have significant wear and tear. Do this to avoid bigger issues when out touring. Consider also if this bike would work for your potential route?
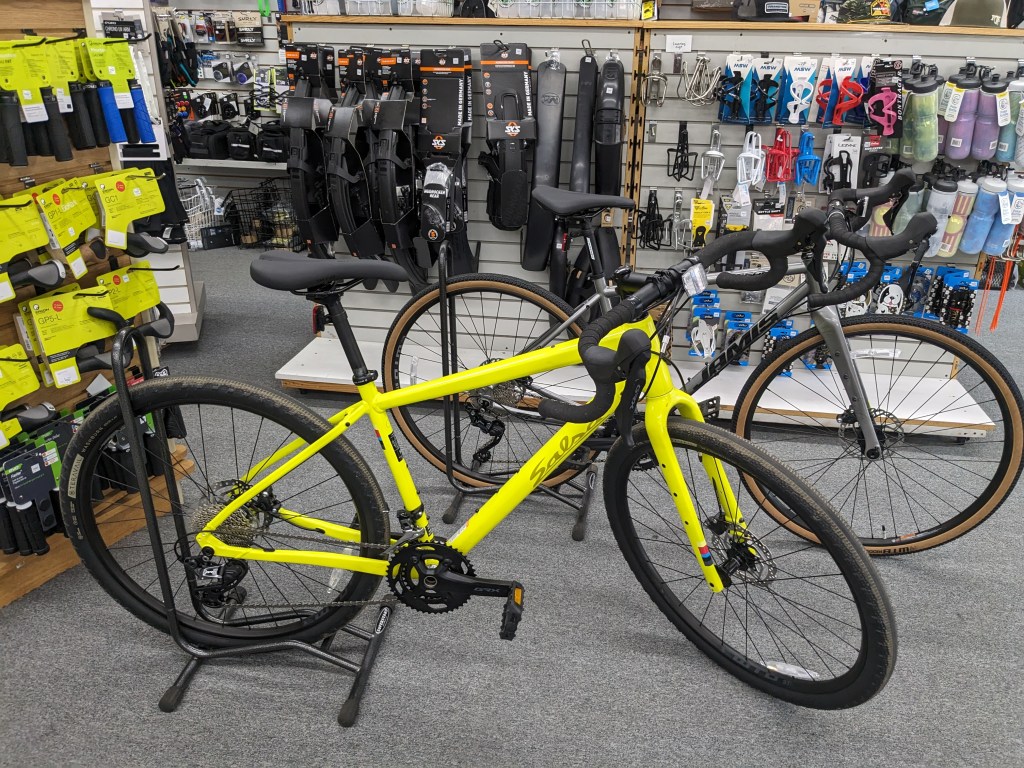
Are you getting a new bike? If so, try out several brands at multiple stores. Pay attention to what your size is for each brand. Decide if you want/need a traditional touring bike that is steel or is a gravel bike or even a carbon frame bike something you might prefer. Each offers positives and negatives. Steel will be the most durable and shock absorbing but also the heaviest. Carbon frames will be the lightest, give plenty of shock absorption but will have a higher cost and could be more easily damaged. Gravel bikes seem to be somewhere in the middle but also most are not specific to touring. Make sure which ever bike you choose feels comfortable to you and it has enough gears to make the steep climbs easier (aka enough high gears). You might also want to make sure the cross bar between the seat and handlebars is high not slanted to allow more potential for bag placement. Also, will you be happier with a bike with disc brakes which offers quicker stopping or brake pads which are easiest to repair?
What to look for if purchasing a bike…
More technical info about bike geometry
Renting a bike is also an option but you will first need to find out where you can do such a thing. You will also need to know if it has a rack. Does the rack have a pannier bag or do you need to bring it. You should also check if tools, tire tubes, helmet and a lock are provided. Whatever isn´t provided or available for rent you will need to bring it. Most bike shops that rent can direct you on recommended routes from their shop which may be way different than you researched. Some may even be able to help with longer routes but you should already have a planned route beforehand. Asking a bike shop might change your plans and that is perfectly ok…they do know their area/region better than you! Besides renting from a bike shop you could also look at renting from a cycling tour company…sometimes they have bikes to rent closer to off season and most likely can give you actual touring routes they use! Lastly, you could just join a tour through one of these companies if you do not want to try touring alone…they usually offer vehicle assistance should you be too tired to continue with the group, take bags for you and will handle repairs along the way…in addition to food and lodging obviously.
2 – Select Route
Consider these: How much time do you have to tour? Is there a specific goal?
Based on that consider mapping it out online. Most on tour seem to do between 70-100km a day…give or take. Remind yourself that this is a rough idea of your route. Your route will most likely change some so you will need to be flexible. Research some and pick a few locations you definitely want to see on your tour but otherwise leave the rest flexible.
You can map it out simply looking at a map and seeing distances between cities, use an app like Komoot/Strava/Mapy/Naver to map it, or follow already designed routes like the Eurovelo or South Korea Paths.
3 – Get Bags Needed
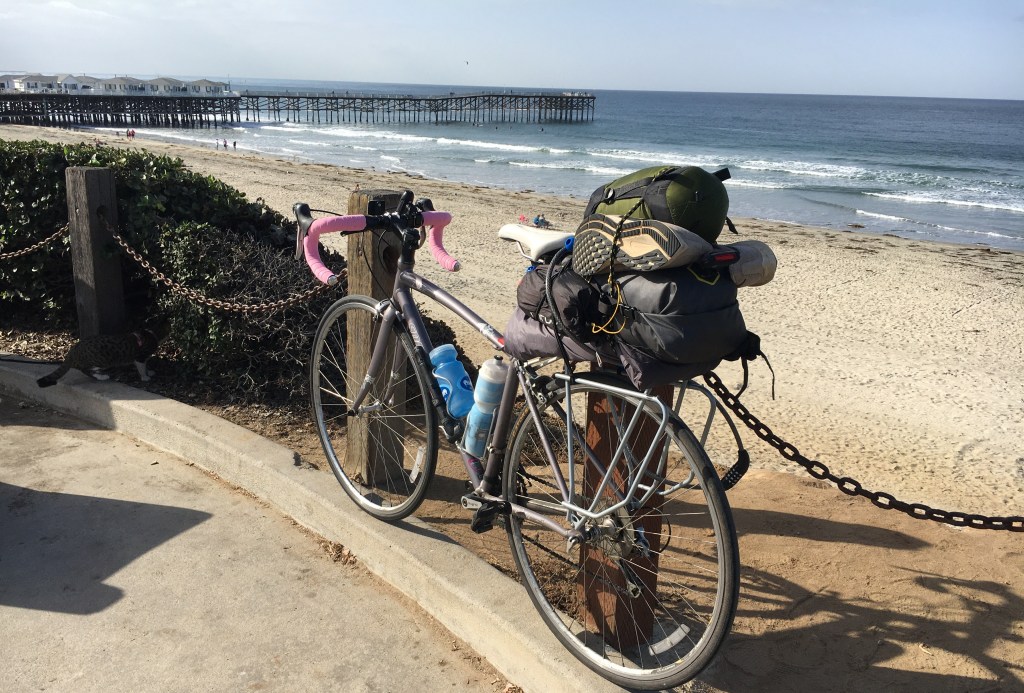
Way too many options out there for bags but the first question is do you want to go with a rack and pannier bags or just a seat saddle bag. Generally, those using seat saddle bags are going either for a shorter period of time, trying to move as fast as possible or as light as possible. If using panniers, the most trusted is Ortlieb (and they have plenty of variety to meet needs) but they are not the only options out there! Finding a rack is quite easy but does take some work to ensure it fits your bike and you might consider one that is lighter….I used one from Tubus and love it.
If doing a saddle bag there are so many companies but I have rather enjoyed using the ones from Apidura.
Those are the two main options for bags to consider but they are not the only ones. You should also look into bags that hang from the handle bars, go on the frame or between the frame and potentially even front pannier bags (attach to fork aka what holds your front wheel) to equal out some weight. These extra bags are really personal preference and you can find name brand bags as well as some great handmade ones! I do suggest having more than just the rear bag. I ended up with pannier bags on the back, a small top of frame bag and a snack bag. I really wanted a middle of the frame bag but I failed to get a bike with a high enough cross bar so nothing fit well there so I was pretty much forced to opt out.
Details on each type of bag out there.
4 – Packing the Bags and Mounting
This takes some time as you will need to play around with distributing weight within the bags as well as over the whole bike. You need to figure out where in the bags or in what bag you will store certain things. You will also most likely have to leave some stuff behind. This may all change once you actually go touring as well but this is why you should do a trial run before heading out on the real deal. It is surprising how much you will learn!
Video of my last bike touring set up
5 – Test The Set Up On A Ride
Starting small is the best plan. Try a long ride on a route you know with the set up on your bike. Then do an over night or if you feel comfortable a multi day trip in your area or at location before heading out from a major city. The overnight can even be to a friends house, it doesn´t need to be crazy, it needs to be somewhere you feel comfortable. The idea behind doing an overnight is to try cycling multiple days away from home so you can see if the set up is working for you, if anything is missing, needs attention or needs to be changed before actually letting loose on your route. A multi day trip will give you a taste of what the tour would be like for you. It gives you a chance to see how camping feels or how finding camping feels, how nutrition might work for you, how weight on the bike feels and how your body feels riding multiple days in a row. You could do all three if needed.
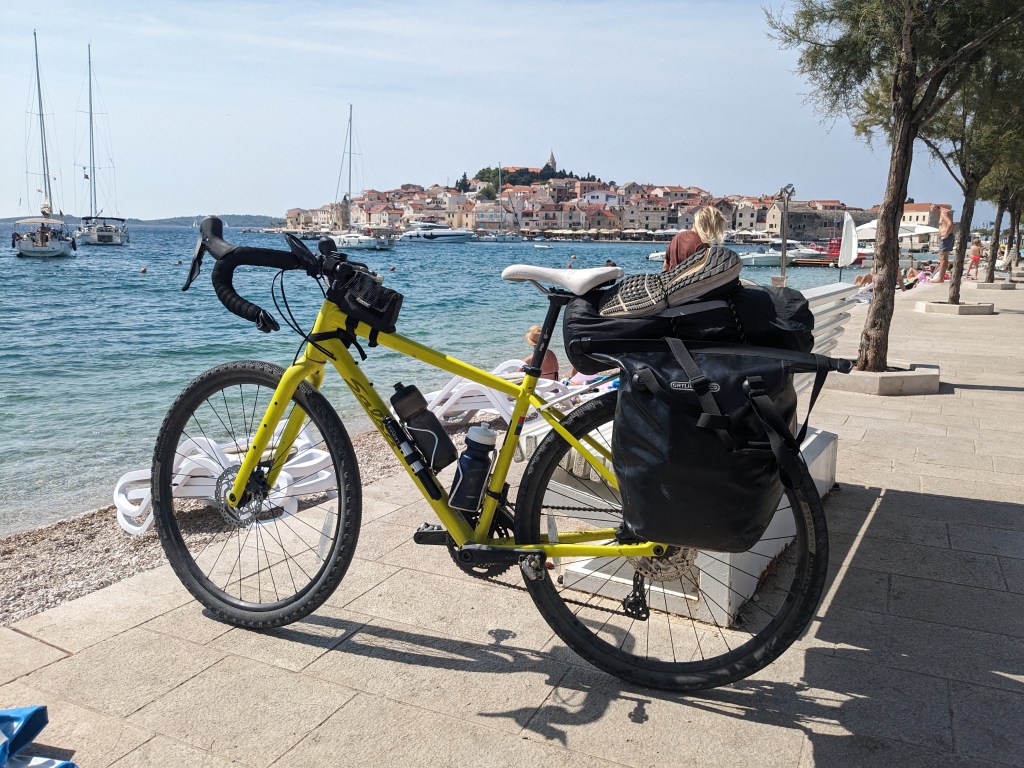
On my last trip before setting off on a longer tour I had a new bike and new pannier bags. I did a long ride one day to make sure everything was working properly after putting the bike back together after flying (it is best to always do this if flying). This was followed by a multi day trip where I learned what I was missing, how weight felt on the bike and what I still needed to buy as well as what problems I might encounter longer term (example: getting lost, security with the bike, etc). Then with these two test rides I soon started my longest ride to date!
However you decide to test the new set up on the bicycle make sure to tighten any bolts/screws as they might become loose just from this trial. My rack for instance was too loose and fell off after a week or so of riding, so make sure things are tightened after that first fully loaded test run for added safety.
_______________________________________________________
Once you have the bike, it is all tuned up, you have the bag set up and have tested it out you will need to decide how you plan to travel by bike. Consider the following:
How do you get to the start of your route?
Are you just leaving from your house, taking a train, bus, plane, shipping it, other?
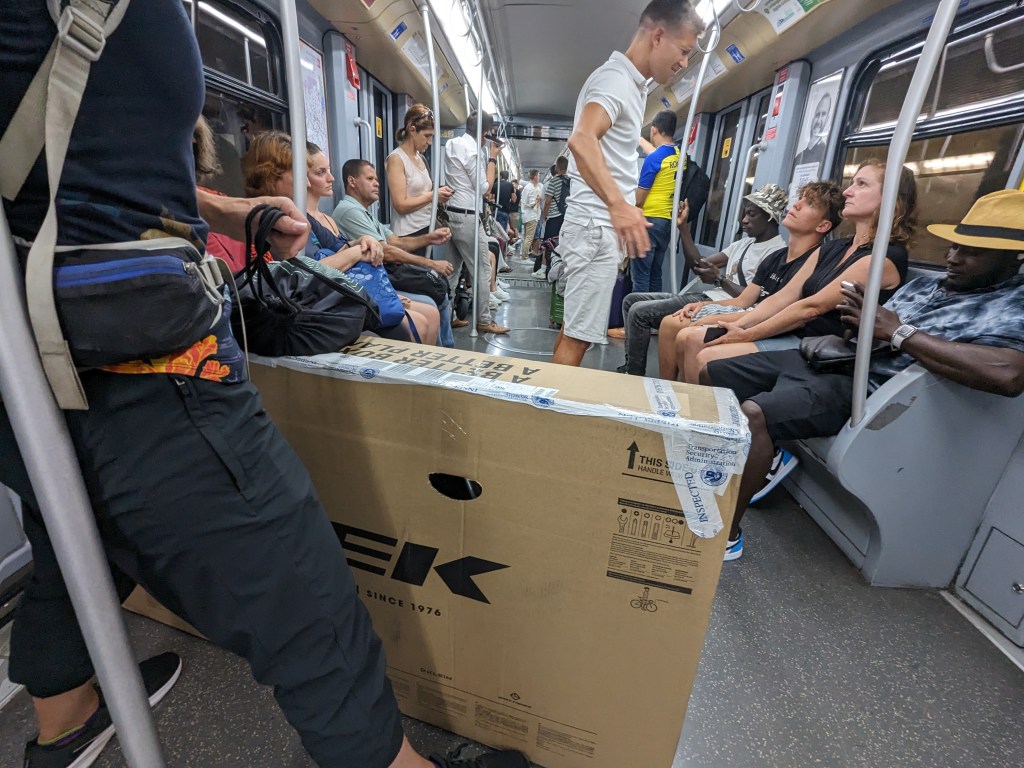
If a train you need to know rules for taking bikes aboard, it varies by country and type of train (speed, regional, etc), some ask you to reserve spots and they are quite limited, some ask you to package it a specific way, pay fee, etc
If by bus, do they allow bikes? and if they do how to package it, box versus no box (does the front wheel need to be off)? Is there an extra cost involved? Etc.
If by plane, what is best airline to transport with? Cost differences by airline? Bikes will need to be checked in and nearly all charge but each airline charges a different way (sometimes just checked bag fee sometimes it´s that and an added fee). Is it international, if so does the airline charge by segment flown? (Icelandic Air does!) I’ve seen costs anywhere between $30 (Alaska Air) and $90 (Icelandic Air). I hear in Europe most airlines generally charge around 50€.
Airline Costs and Packing Bike Tips
Shipping it…. What company will you use?
Do you bring your own bike case? Hard case or soft? Your own or borrowed…If you take a hard or soft case you need to know where you will leave it while cycling. Often it is best to instead just get a box as you can dispose of it once you arrive.
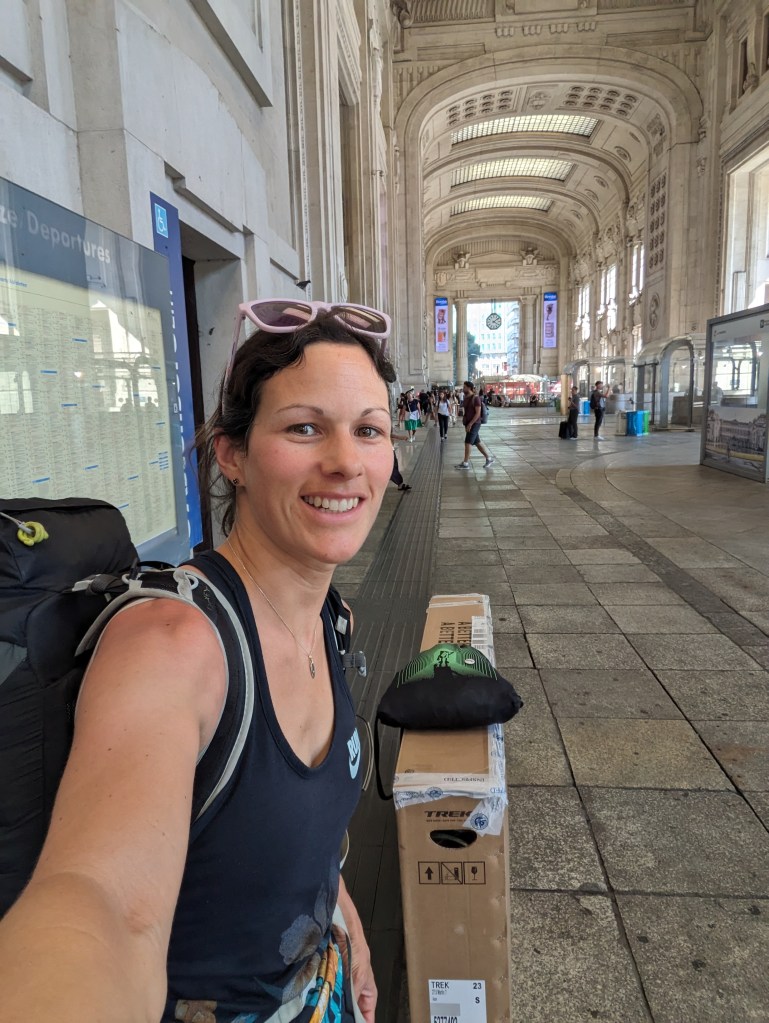
If you need a box where do you find it? Usually a bike shop has leftover boxes they can give you for free (some do charge) but then again some airports, post offices and even train stations (France) have them available to buy. Once with the box, how will you send it? Through a cycle shipping company, from your country, other? There are tons of companies based in Europe.
Or are you renting? From what company? What do they include, what do you need to bring of your own equipment?
1 option for shipping or try this option (many other options out there – CitizenShipper, PirateShip)
Where do you plan to stay?
Again, you can do this in so many ways but many choose camping. Again how you camp depends a lot too.
Wild camping or campsites?
This too depends, many countries prohibit wild camping but in reality don’t enforce the rule…maybe Iceland does though. If you go this route just avoid doing so at super touristy spots, like the number 1 beach in the country…this will likely get you kicked out. Try abandoned homes, churches, harder to reach beaches or less built up ones, hiking a bit deeper into a forested area so you´re hidden, etc. For the most part, wild camping requires searching for a potential site, arriving there in the evening hours and trying to be unseen.
Campgrounds are plenty in Europe and common in the US but are they where you are headed? In Europe campsites generally have showers, toilets, wifi, a restaurant and might also have a kitchen and laundry while in the US try a state park which offers a toilet, running water and shelter at a minimum. Each site varies quite a bit with services offered, quality, price and area for camping. Occasionally you find a free campsite with a few amenities but not quite all (found this in Iceland and Croatia).
Set up to camp can also depend, single person or double person tent, hammock, bivy tent set up, just in your sleeping bag on the ground. Weather might change your choices as well as how much weight you want to carry. I will say whatever the set up make sure it is easy and quick and you know how to do it because sometimes there is a rainstorm, you just really need to put your legs up or a mosquito swarm. Wasting precious time on setting up camp is not favorable for bike touring where you cycle all day and have plenty to do once at the spot for the night.
At a minimum consider having: Tent, inflatable mattress, sleeping bag
Might also need tarp or waterproof footprint (goes under tent for moisture/rain), tent stakes (lighter weight or more heavy duty)
If you don’t camp will you ask for host; ask residents of a town for a spot or stay with friends along the route? Maybe try writing hosts on websites like Warmshowers.com (cycle touring specific) or coachsurfing.com (traveler specific) or maybe you knock on doors.
You can also just book a bed somewhere?
Hostel, guesthouse, hotel, airbnb all are relevant but does depend on where you plan to cycle and your budget.
I´ve tried all of these and each is quite a different and unique experience.
Wild camp version 1 or wild camp version 2


What will you eat?
You have two options here, make your food or eat out. Again if the route has plenty of towns eating out will always be an option but if it doesn’t you will have to make and carry more food with you at all times.
Do you carry your camping stove with you or not?
At minimum: stove, pot, bowl, spork, cup, butane gas and lighter and maybe a rodent/animal safe food bag for storing food
This may depend on how long you are traveling or how much you want to spend on your trip. Food costs start to add up if you eat out every meal.
Consider your options based on diet or how you plan to travel.
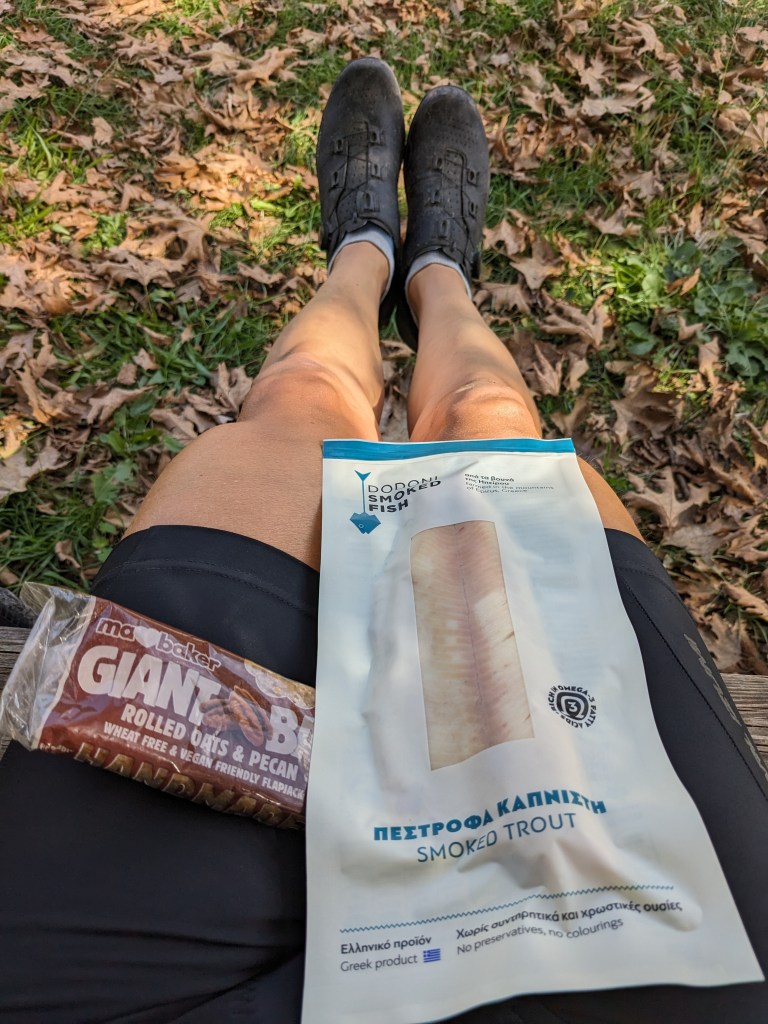
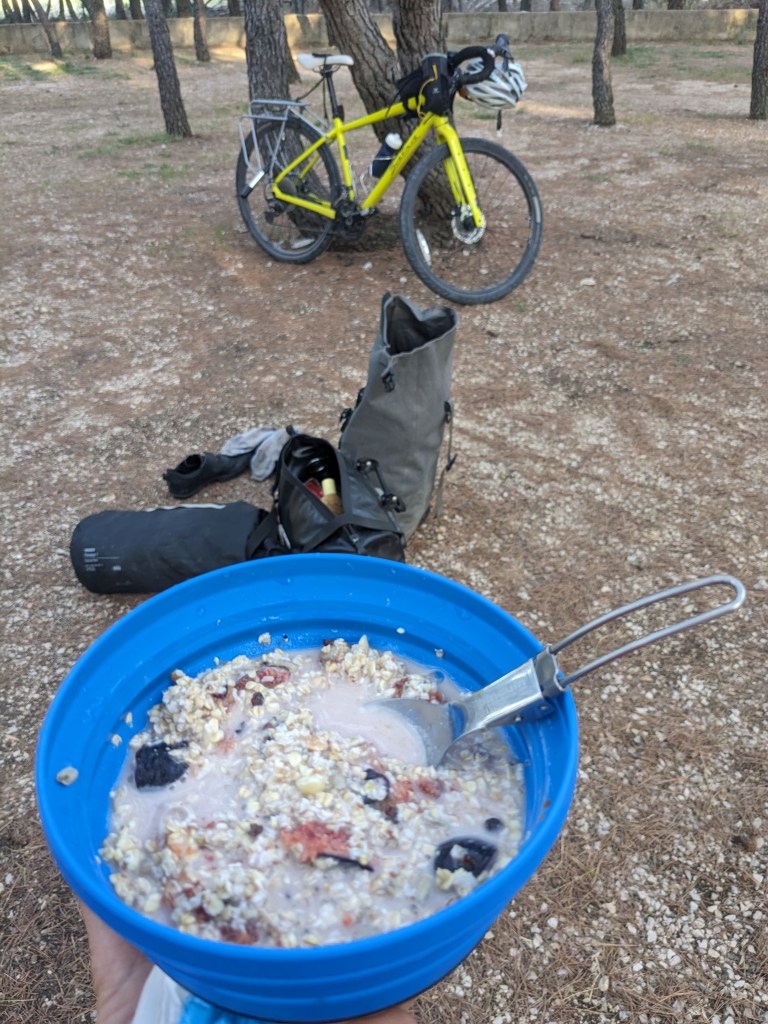
Here are a few food options that I’ve found useful on my trips and generally easily found in many places which can go unrefrigerated for longer periods of time.
– Oatmeal
– Dried fruit and nuts
– Bread, Cheese in general (although smoked is best), salami, smoked meats
– Pate’s of various sorts (vegi, tuna, chicken, hummus, etc)
– Canned food, such as tuna
– Energy bars, cookies, snickers
– Boiled eggs (last a few days)
– Bananas or other fruits (be aware: some can squish easier than others)
– Picking fruit off trees (figs, berries, etc)

What shoes do you take?
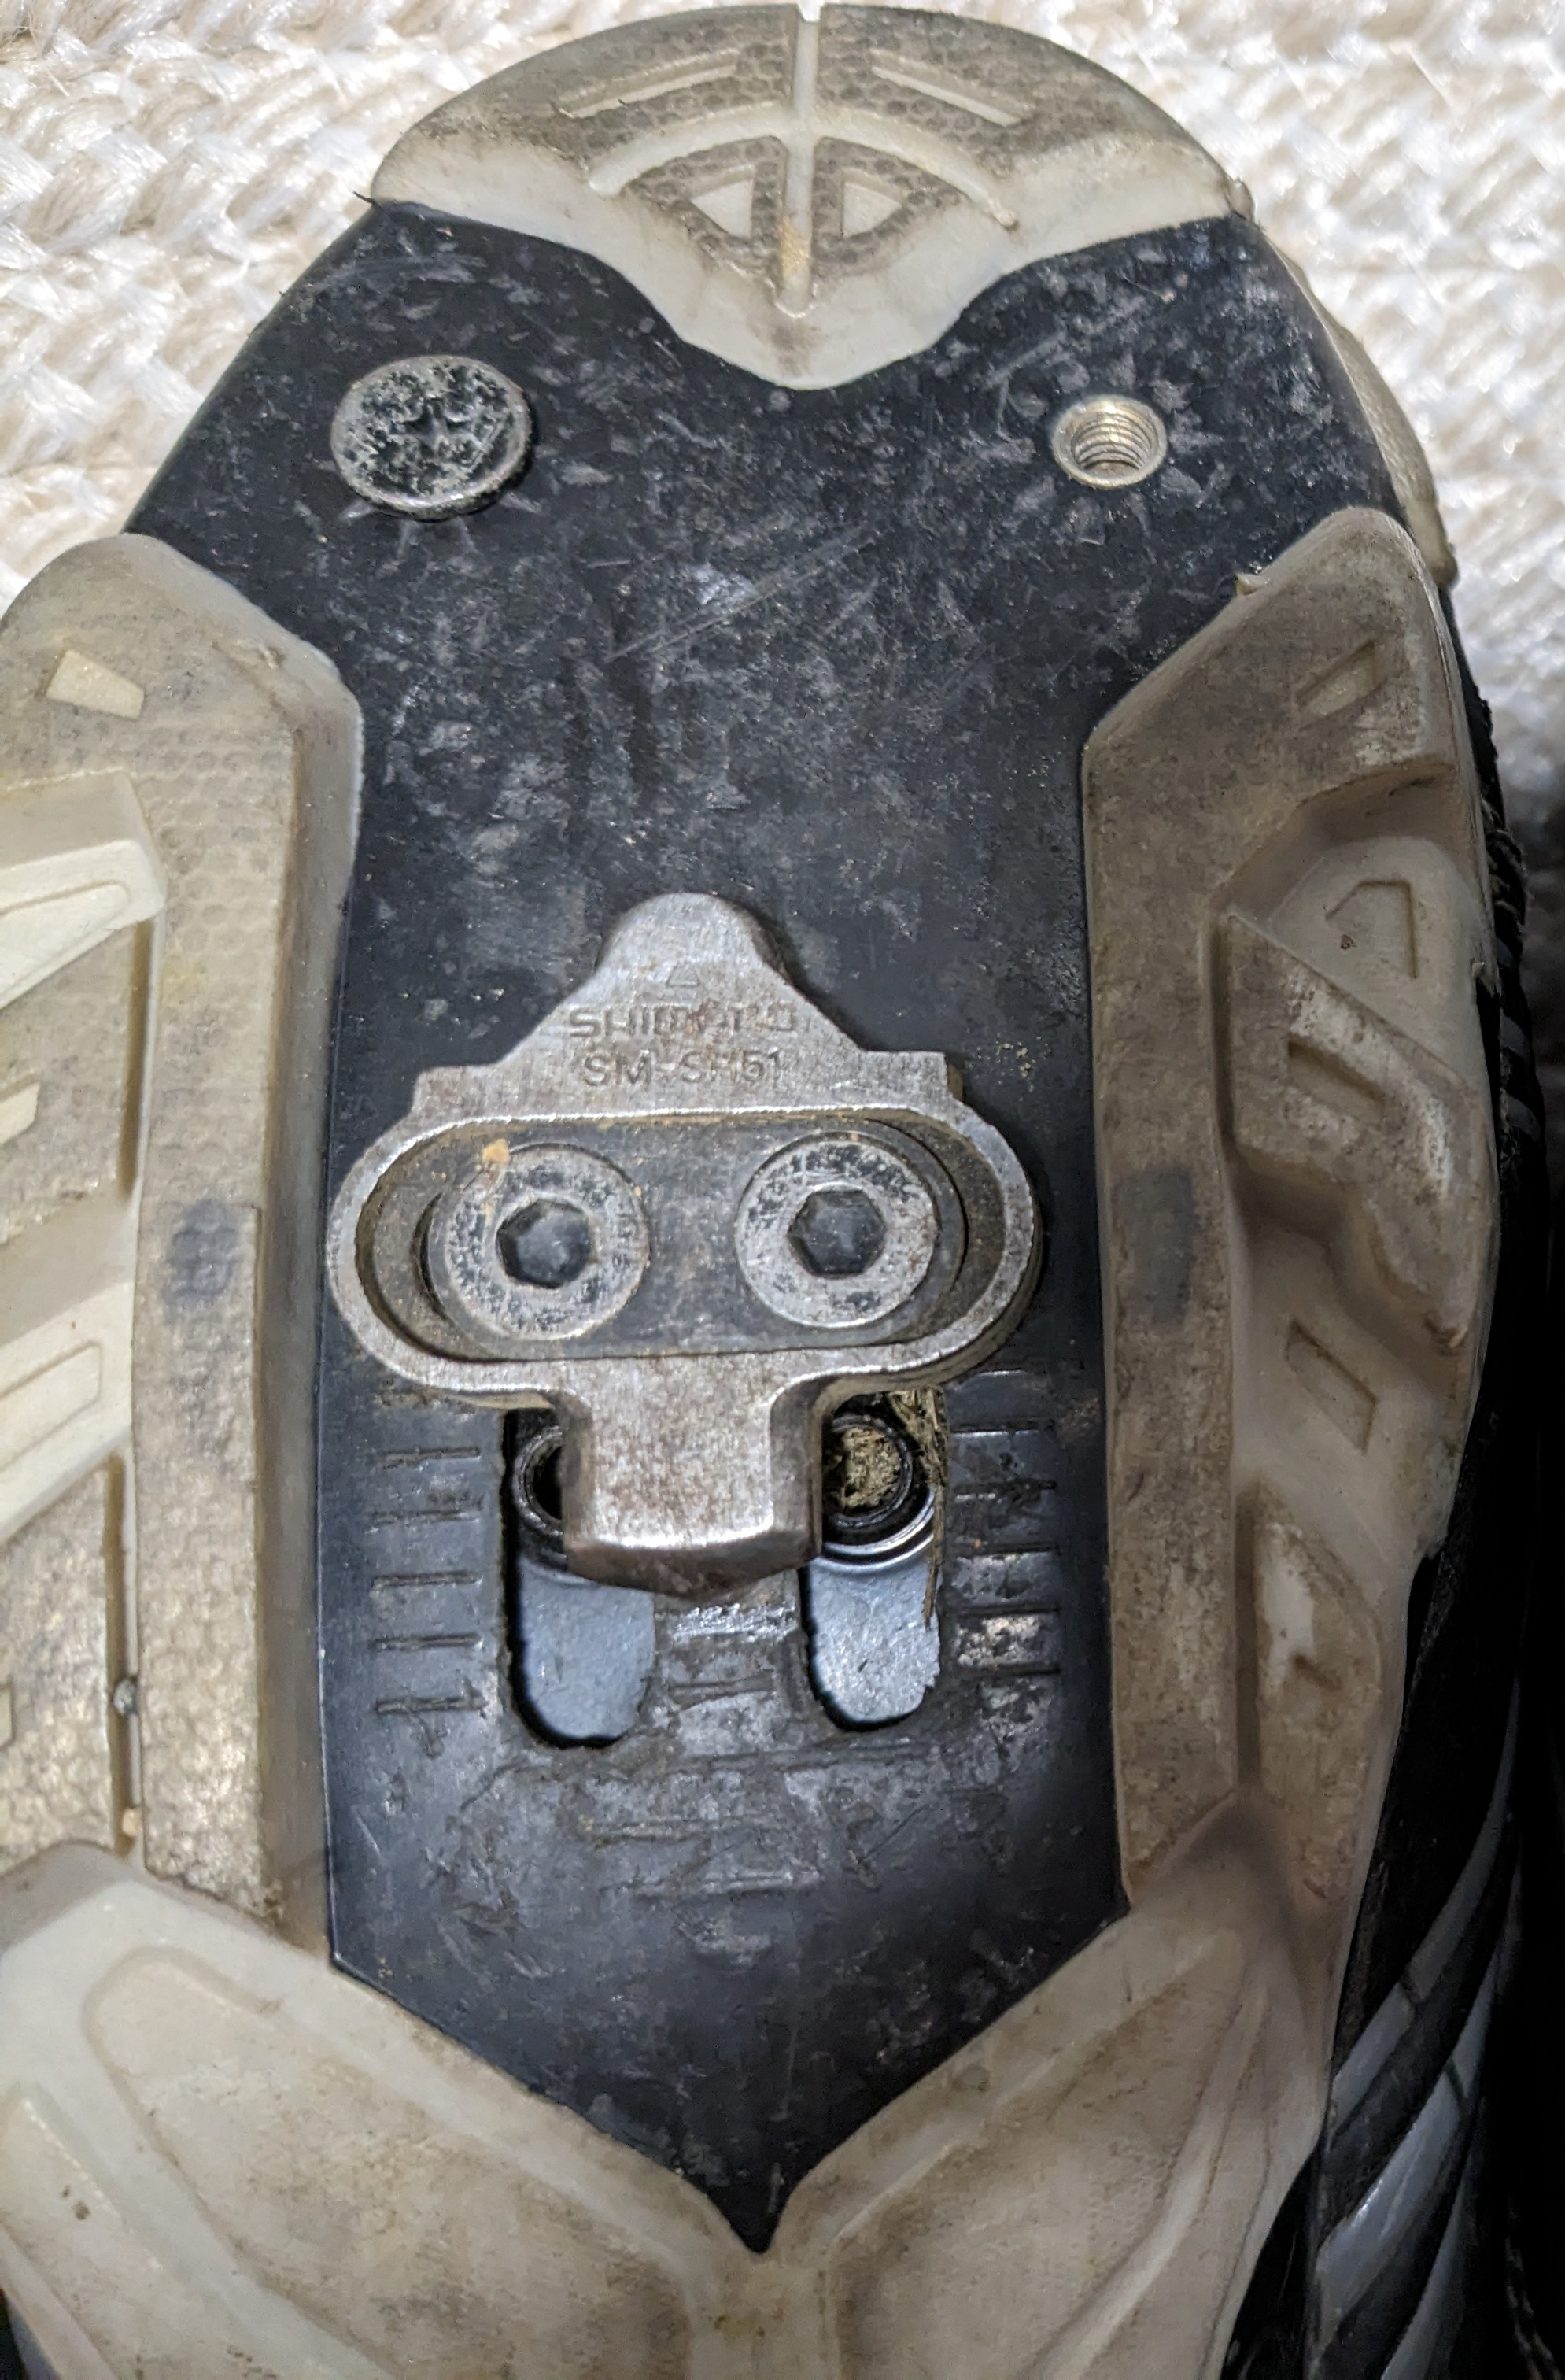
Will you go with cleats or not?
There are benefits to cleats (touring/mtb version with SPD clip) usually regarding more efficient pedal stroke. Plus today there are many different versions from sandals to hiking boots with cleats…so many possibilities! This may be an extra investment though so do consider the benefit versus cost here.
Also, 1 pair or multiple?
I had 3: cycling shoes, running shoes and sandals. Sandals for after riding, showers or the beach and finally running shoes for running, hiking, exploring ruins/sites/cities (usually saved tons of time not exploring in cycling shoes).
The type of shoes chosen will determine the type of pedal needed. Most likely a flat pedal or some sort of SPD pedal will be the best option on tours.

How do I choose essential clothing?
Basically use whatever is comfortable for you. Many cyclists touring used normal clothes and would replace a shirt when it became bleached from the sun but I went with cycling specific gear (yes, the padded shorts) as that is what I had and generally use. If you are going to invest I do recommend wool clothes though as they breath better, regulate temperature better and don’t get stinky as fast. A mix of both cycling and normal clothes to cycle in would be wise to carry unless you know you don´t like the padded shorts and cycling jerseys. Either way I do suggest carrying chaffing cream and using it for saddle sores before each ride.
As far as clothes go, overall I brought with me 3 shirts (cycle specific), 2 shorts both bike specific and 3 sport bras. I also had a set of running clothes, swimwear, lightweight pants, lightweight jacket, normal shorts, 1 dress, 2 tank tops, 1 t-shirt, sleepwear, 1 set of cold weather gear and waterproof layers (jacket and pants).
I tried to keep it light and either did laundry on rest days (city laundromat, campsites, hostels/guesthouses, etc) or hand washed when in dire need.
Extra Equipment to not forget: (or at least consider taking)
- Don’t leave these items behind: bungy cord, tape, a plastic bag, trash bag and sandwich bags
- Straps/Velcro/Zip Ties can come in handy for simple repairs or temporary fixes. Trust me you will need them!
- Chain lube, patch kit, 1-2 tubes for the tires, bike tool
- Bike lights, helmet, first aid kit (headlamp too)
- Side mirror and cell phone holders are very useful, consider adding!
- Bike lock (if anything at least for your own sanity)
- Fenders for rainy cycling (removable or permanent)
- Chaffing cream and sunscreen
Luxury items that would be awesome to have: Foot pump with a gauge, A lightweight folding chair, thermos (great for cycling in extremely hot or colder locations), kick stand, adaptor for pumping tires (useful at gas stations)

Navigation Apps
- Komoot navigation app
- Mapy.cz bike app
- Strava routes
- Naver (specific to S. Korea)
**If route has mountain pass or gravel add at least 30 min extra to given App ETA (especially on Komoot)
Other Apps and Useful Websites
Helpful Touring Communities (Whatsapp, Facebook, other)
Warmshowers (like couch surfing for cyclists)
Lastly, things you might want to know beforehand specific to actually touring.
* After 2 weeks you get really lonely and need some social time
* After a month – you need a bit of a break from the bike (like real days off doing nothing – no running like me on those days, etc)
*Check screws after 1 week, cleats on shoes after 2 weeks, oil chain weekly, check tires daily (pump weekly) and then periodically thereafter.
* Biggest issue I found is how will you charge devices (bring a battery pack and always look for outlets).
* If you see shit in tire dont wait, take it out when you see it….also, you can survive on pumping air multi x day with a slow leak (I did that for several days before actually changing the tire).
* Bring a water filter but also research if you can drink tap water in each country. If you can just refill from the tap (in Europe, the public water fountains) when needed or carry extra depending on route.
* Cycling you see a lot and experience a lot even if you take it in slowly. You are constantly moving!
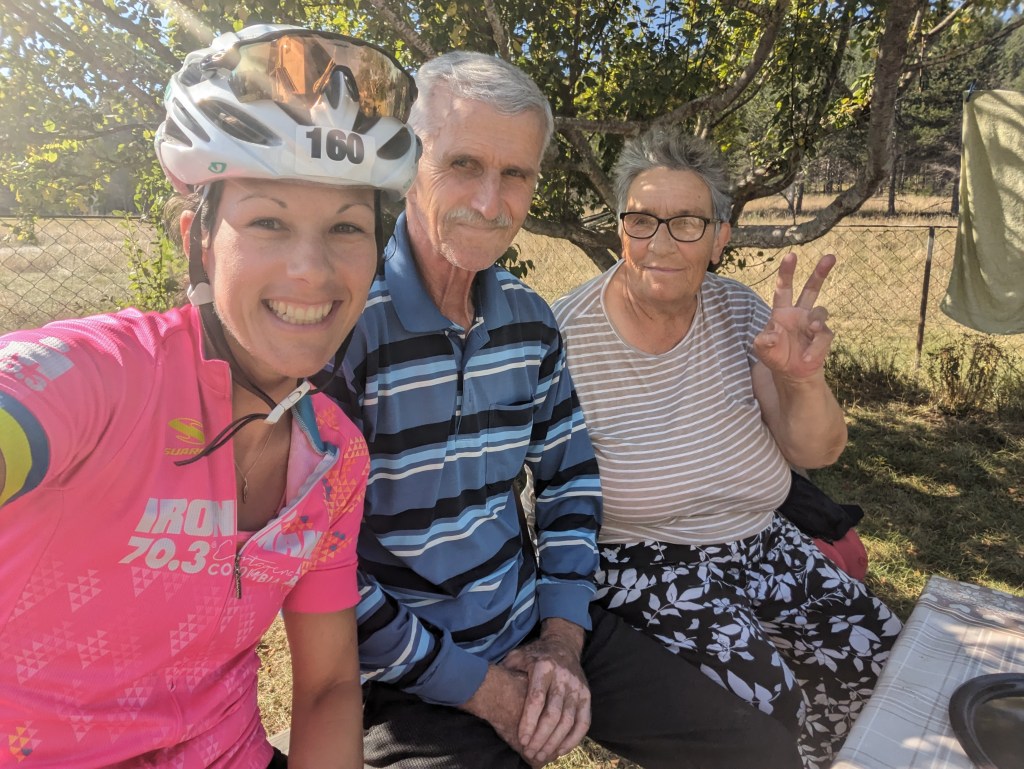
* Interactions with anyone is likely few and limited as you are constantly moving which makes cultural experiences especially low or at least quite different….Taking walking tours and staying longer in a spot or with people will change this problem somewhat.
* Be aware of dogs, some really like to chase tires with fangs viciously coming at you. Slow or stop, grab rocks, pretend to throw and walk slowly away. BE SURE TO PLACE THE BIKE BETWEEN YOU AND THEM!
* Using a navigation app is useful but they aren’t perfect. Sometimes you will need to reroute and will get frustrated but there is always a way to go. You could also bring a hard copy of a map.
* Be aware that cars stop in random spots for seemingly idiotic reasons.
* Avoid going up a mountain pass in the mid day heat with a headwind, literally the worst plan ever!
* Enjoy the countless hours singing to yourself, sleeping under the stars, waking up to bird song, racing a storm, getting mad a drivers, sweat pouring out of your helmet, freezing on the downhill because you are sweaty (put a jacket on!), randomly friendly and helpful people you will encounter and the many details you will notice and laugh at from going only 13 mph/20 kmph most of the time.
Other blogs about my cycle touring experiences: Cycling in South Korea, Cycling Expectation v Reality, Cycling in Cuba, Cycling Croatia, Cycling Southern California
If you want to receive new blog posts about sports and travel please subscribe below!

I would love to know how you found out the hard way that zip ties are super useful on a cycle! Haha
LikeLike
Well I knew in advance about the zip ties so I had them and a strap (voile) with me…so I’m just spreading all the research I did for my tour and all that I learned as well….glad I had the strap though because my pannier broke and that sustained it nearly the whole trip and allowed me to still take it off the rack…zip ties would have worked too but you need to cut them to release the pannier bag each time so I’m happy I had a strap
LikeLike
you aremarketing for the various named equipment, tours, locations without offending others in these categories due different experience that you describe others may want or need.
Hello leveraged marketeer.
Best pic photo of Pike on subway. Ha your bff goes anywhere with you.
LikeLike